


ITS Help Desk
The ITS Help Desk is your point of contact for all information technology issues. The ITS Help Desk provides technical support to UWF students, faculty, and staff on a variety of university technology services.
Technology Guides
The "Technology" sections of the Student Guide and the Instructor Guide provide information and step-by-step instructions on everything from ArgoAir, clickers, eLearning, computer literacy and training, and much more!
ITS Workshops and Trainings
ITS frequently provides technology related trainings on topics including eClassroom Orientation, Google Drive / Docs, Confluence, Clickers, ArgoApps, Qualtrics, and more! For more information and to register for a workshop, please visit the ITS Workshops and Training page.
ITS Help Desk
Call: 850.474.2075
Fully Staffed
Monday - Friday
8:00 am to 5:00 pm
Limited Staff
Monday - Thursday
5:00 pm to 7:00 pm (when classes are in session)
Email: helpdesk@uwf.edu
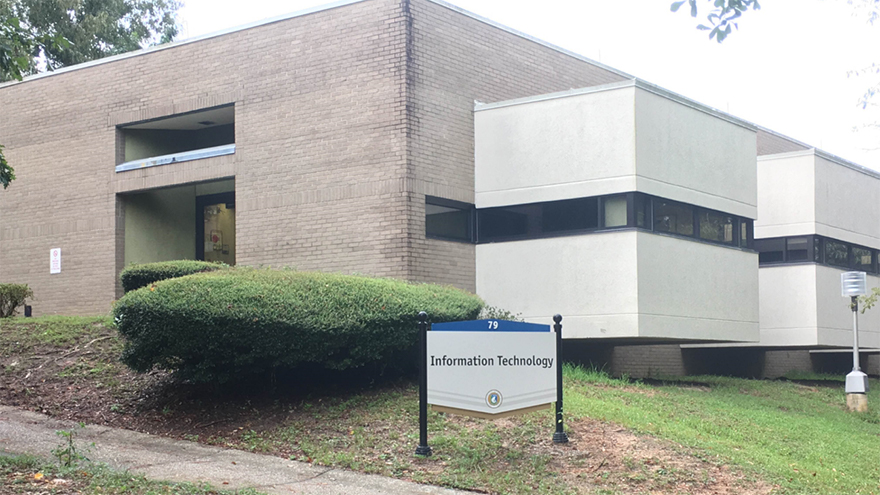
Stop By: Building 79 Walk-in Counter is open Monday - Friday 8:30 A.M. - 4:30 P.M.
Closed on weekends and official University holidays.