Tips
Selecting and Capturing Photography
Creating a Sense of Place
Photography should establish a sense of place and help connect people with UWF. Always select imagery with the idea that the audience has never set foot on campus. Your images should convey the energetic transformations taking place and frame the University as an integral part of Pensacola and the Northwest Florida region.

Capturing Portraits and People
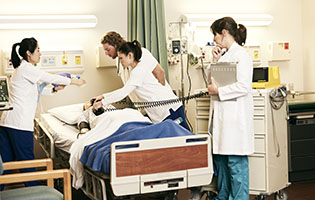
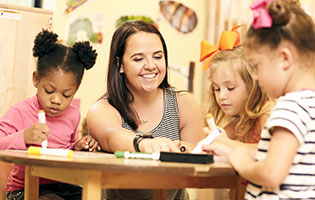
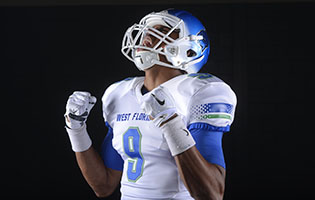
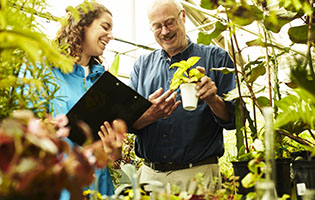
Everyone has a story. Photography should be used to tell those stories in a dynamic way while highlighting how people are connected to the University. Environmental portraits convey who a person is by featuring them in a space that relates to their work or ideas. Remember to consider the medium and the message when determining how to shoot a portrait, as they work together to convey a unique story.
When shooting indoors, try to use a window to light your subject from the side. Avoid using direct flash, which can cause red-eye and shadows. When shooting outdoors, open shade or an overcast day is best for avoiding harsh shadows. If your subject is in the shade, ensure the background is darker than your subject.
Showcasing Facilities
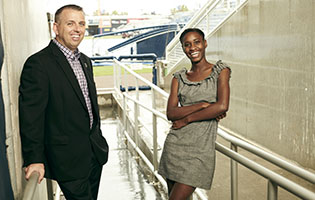
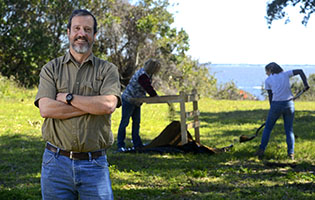
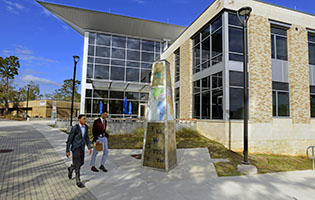
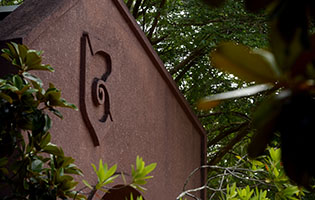
Our buildings, labs, studios and architecture are extensions of our brand. Photographs should show these structures, and when possible, the people who use them. When photographing facilities without people, use creative framing to build interest. Supplement straight-on, documentary-style images with photos that capture unusual angles and show interesting details.
Understanding Camera Settings
Camera Modes: The P, A, S, or M modes are the most common and useful across many brands and styles of cameras.
P: Program or Automatic Mode: Typically, this mode is for a basic user and gives total exposure and creative control to the camera. Only use this mode as a last resort.
A: Aperture Priority: A semi-automatic mode that allows the user to set the desired aperture to control the depth of field, the amount of an image that is in focus. The lower (smaller) the number, the blurrier the background becomes and the more you isolate your subject. In this mode, the camera sets the shutter speed automatically based on the chosen aperture and the amount of light in a scene.
S: Shutter Priority: This mode allows the user to set a defined shutter speed. The shutter speed is the function of the camera that stops motion. Do not reduce your shutter speed below the focal length; for example, a 50mm lens must have a shutter speed of at least 1/50 sec. Below this, the natural motion of your hands will cause the image to blur. The camera will adjust its aperture based on the selected shutter speed and the amount of light in a scene.
M: Manual: This mode gives the user full control over both shutter speed and aperture. This mode is useful for scenes with very bright and dark areas where the camera’s exposure control can be fooled.
Lastly, there is the ISO setting that will affect the above camera settings and is universal to all modes above.
ISO: ISO refers to the camera sensor’s light sensitivity. A lower number means the sensor is less sensitive to light. For example, 100 to 200 ISO is great for outdoor daytime activities, whereas indoor activities may require 800 to 3200 ISO to freeze motion and camera shake adequately. Raising or lowering the camera’s ISO value will allow you to raise or lower the shutter speed or aperture. A lower ISO value generally means that your photo will have more detail and less noise. It is not recommended to raise ISO beyond 6400 because increasing ISO values beyond this point causes a significant decrease in the quality of the photo.
Composing a Photo
When deciding where to place your subject, try to avoid centering, which can result in static, boring photos. Instead, keep in mind the universal Rule of Thirds, a general guideline on how to best compose an image. Imagine a grid dividing the image into nine equal parts, with two equally spaced horizontal lines and two equally spaced vertical lines. Place your subject along either of these lines or where the lines intersect to create more dynamic images. Many cameras have these grid lines automatically displayed in the viewfinder.
If your camera features an aperture control mode, aim to always use a wide aperture on your camera for most situations—typically f2.8 to f4—to isolate your subject. If you’re shooting buildings, landscapes or scenes with a lot of depth, such as classrooms, try to shoot between f5.6 and f8. Beyond apertures of f11, the resolution of an image begins to diminish due to a phenomenon called diffraction.
Checking Your Settings
After composing you photo, check to make sure that the image is properly exposed. Your camera’s exposure meter can be found in the bottom center of its viewfinder. The meter averages out the different intensities of light in a scene to help create an image that is neither too bright nor too dark. In a properly exposed image pointer on the exposure meter will be perfectly centered if you have entered the proper shutter speed, aperture and ISO values. If the pointer is to right or left of the center, it means your photo is underexposed (moving toward the minus indicator) or overexposed (moving toward the plus indicator). Modify any of the camera’s three exposure settings until the pointer reaches the center of the exposure meter.
Before taking your picture, ask the following:
- Is my shutter speed at least as fast as the focal length or fast enough to freeze the action in a scene?
- Is my aperture wide or small enough to ensure that everything — or only my subject — is in focus?
- Is my ISO as low as possible to ensure the best image quality?
Individual Portraits
The best portraits rarely show a person from head to toe. Shoot your portrait subjects from the waist up or the chest up. Avoid focal lengths below 50mm for portraiture. If possible, use the widest aperture your lens allows, such as f1.8 or f2.8.
Find an area with a nondescript background at least 10 feet away from a wall, tree or other object. Be conscious of your background, and avoid any lines or objects that cut through or intersect your subject in odd ways.
Indoor vs. Outdoor Portraits
When shooting indoors, try to use a window to light your subject from the side. Avoid using direct flash, which can cause red-eye and shadows. If you have a speedlight that has a swivel head, point the flash to the ceiling or nearby wall to bounce the light, creating a softer, more even exposure.
When shooting outdoors, open shade or an overcast day is best for avoiding harsh shadows. If your subject is in the shade, ensure the background is darker than your subject. Keep in mind that the viewer’s eye will usually be drawn to whatever is brightest in the photo. If you cannot find shade while in full high afternoon sun, place the subject’s back to the sun so that they are evenly lit in their own shadow. In late day sun, place the subject so that they are side lit with the sun. Take care to avoid harsh shadows around the nose and eye sockets.
Photographing a Speaker
At speaking events, you may notice that professional photographers take several shots. The main reason for this is because it is difficult to capture good expressions of people while they speak. The best photographs typically occur when someone gestures while speaking. This gives speaking images a sense of action. Don’t photograph the speaker looking down or reading. For the perfect speaking shot, look for good gestures, such as open eyes looking out to the crowd or a genuine smile. Ensure your subject is free of any background elements protruding from them. To take your shot to the next level, compose your shot with a sense of place, including relevant foreground and background elements like banners, placards or audience members.
Flash will not be sufficient to light most rooms because flashes are usually only powerful enough to light a subject fewer than 15 feet away. The best strategy in most situations is to use available light. If you have a speedlight that has a swivel head, point the flash to the ceiling or nearby wall (make sure the surface is white) and bounce the light off it so to spread more light. Adjust your shutter speed, aperture and ISO accordingly.
Group Shots
Point-and-shoot cameras in automatic modes are not ideal for photographing groups of people in motion, e.g. clapping hands, shaking hands or presenting awards. Instead, try taking posed group shots where the subjects are standing still. Try to limit groups to three to five people, and keep the group at least 10 feet away from a wall or other background.
Available light is usually best when near windows or outside, but you can also try some shots using your flash to provide additional light. In these instances, the flash should be considered a “fill” light and serve to eke out a bit of extra brightness from your given shutter speed, aperture and ISO values.
If time permits, experiment alternative ways to capture group shots, such as photographing someone else taking the photo of the group or the group taking a “selfie” shot. Fill the frame with your subjects if the background is not contributing to the photo, however be careful of distortion near the edges of the photo if using wide angle lenses.


